 My grandpa was an appliance salesman by trade but spent many hours on projects around the house, for family members, and friends. He and my grandma added on to their house, built a deck, built a large shop for all of his tools, built a gazebo, added on to their house again, and more! My grandpa built this beautiful curio cabinet for my sister when we were in high school. She had amassed quite a collection of porcelain dolls by that time and needed a place to store them.
 When I was a child and my mom was a single parent, we had a water leak in our kitchen and needed to replace the floor and cabinets. Insurance would cover most of it, but my grandparents drove six hours to come and do it themselves, so that we could have nicer cabinets and replace everything for less than what the insurance company had estimated for what had been damaged. I also distinctly recall helping my grandparents reshingle their carport roof one hot summer when I was a preteen. My grandparents taught me how to use a hammer, how to do things well, and how to work hard.
 About thirty years ago, my grandpa built this chest of drawers for me. I have moved over a dozen times since then, and this piece of furniture has been in every house and apartment. I used it as a child/teenager to store clothes, of course, but as an adult, I used it to store other random things (aka junk). In my and my husband’s first house, we had a large enough closet to put this chest of drawers inside, and I stored my unmentionables in it. Since we had the twins three years ago, this chest of drawers has been in their room. It didn’t match their white cribs or dresser/changing table, and some of the hardware was loose or missing from the bottom of the drawers, but I didn’t have time to do anything with it when they were babies.
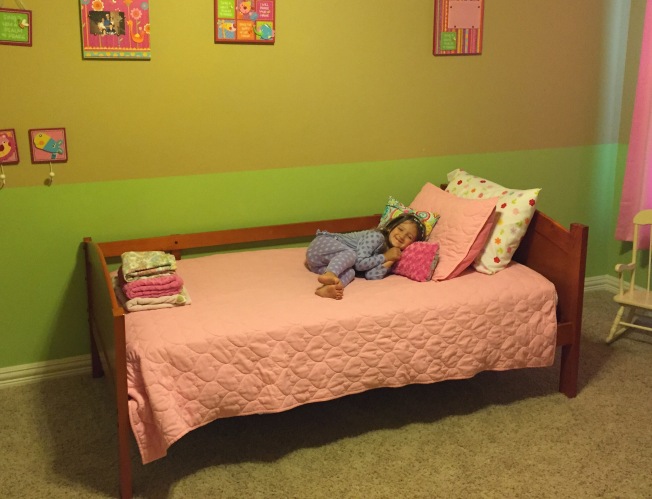
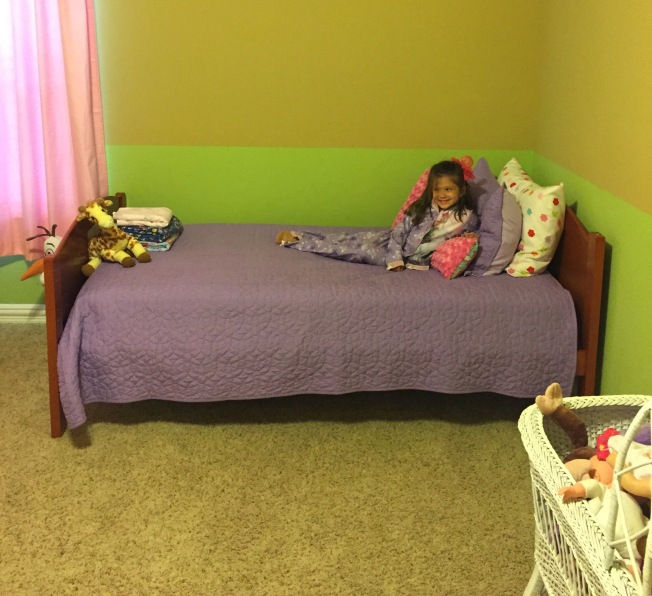
The girls now have “big girl” beds, and the wood stain on the beds doesn’t match this chest of drawers either, but the bassinet for their dolls/stuffed animals is white and matches their decor, so I decided to makeover this chest of drawers in white too. I had seen some projects on Pinterest where people had converted a chest of drawers to a bookcase or storage cabinet, and I wanted to create a piece of furniture that could still hold clothes but mesh with their room and be simpler for two little ones to access. The two bottom drawers kept falling out, and they couldn’t put them back in by themselves. Once again, I consulted with my friend at Blue Happy Living and decided to use chalk paint. I bought some supplies and started removing the shelves. Oh, my. This project ended up requiring much more time, energy, and money than I had anticipated. 
First, I removed the drawers and took the hardware off the bottom of each one. (I’m saving the drawers for another project.) I had to use a hammer and a slotted screwdriver to pry the trim off the front of each shelf. Then I used a Phillips screwdriver to remove most of the screws. Some screws had wood glue on them from the trim, and I couldn’t remove them. I ended up taking out my frustrations on them with the hammer.

Then I realized that the shelves weren’t just attached to the side walls of the chest; they were built into the walls. I had to remove the trim from the front of each side wall in order to get to some of the screws. At this point, I regreted starting on this project.


Let me tell you, this thing would never have fallen apart! My grandpa built it to last a lifetime. I had to take off the back wall to access the screws on the back side of the drawer supports. I had originally planned to leave the top two narrow drawers, but I decided to remove them as well at this point.
 Then I removed all the pieces that had supported the drawers except the ones that were glued into the grooves in the side walls. I tried a few things and ended up hitting downward on them with a hammer to break the seal of the glue and then knocking them out from the front towards the back. A few boards splintered and had to be pried out, but most came out whole. I spent a good deal of time using a hammer and a slotted screwdriver to chip away the pieces that were still glued in the grooves.
I started on this project a few weeks ago while my husband was out of town for two weeks, and I had to stop after doing the prep work to wait on him to get home before proceeding because I don’t use electrical saws. My father-in-law went to the store for me to purchase the boards to use for the shelves, and I measured and marked them for my husband to cut. I went to the store myself to pick out some narrow trim to replace the trim I had ripped off the front of each side wall and the bottom. After my husband returned and cut the boards, I couldn’t resist putting the shelves in and showing the rest of the family my vision for this piece of furniture.
 I was so eager to start painting, but I had to glue the trim on before I could start. This was tricky. My husband only has one clamp large enough to hold the trim on, so I improvised with bungee cords. It wasn’t ideal, but it worked.

I painted two coats of white chalk paint on each shelf and the empty cabinet before sliding the shelves into the grooves. I also painted the inside of the back wall a deep red color to match the decor in the girls’ room. I left the back off until the very end to avoid getting white paint on it or red paint on the cabinet. It just so happened that my husband started tearing out our brick sidewalk about the time I started painting, so I put bricks under the cabinet and shelves to keep the paint from sticking to the drop cloth. (More on our new sidewalk later.)
 After three coats on the top and two coats everywhere else, I put the shelves inside and painted another coat of white on everything. It definitely needed at least three coats. I think I used three 8 ounce jars of Americana Decor chalk paint in Everlasting (white). I used two 2-ounce bottles of red with several drops of blue to paint the back wall of the cabinet.
 At this point, I was so anxious to be finished with this project. I had bricks and tiny slivers of wood all over the drop cloth. The girls were living out of containers on their floor. It was bothering me, but our usual chaos and multiple illnesses were preventing me from painting. I finally finished by applying three coats of cream wax this past weekend, and then I reattached the back.
 I let it dry for 24 hours after the last coat of wax and finally decorated today. That top shelf is so narrow that I had no idea what we would use it for right now. I figure when the girls are older, they will slide art supplies or books in there, but I realized this afternoon that their large puzzles would fit in that space perfectly. Heaven knows they don’t fit well anywhere else.
 I had originally planned to distress this piece, but after adding trim (unstained wood) and shelves (mdf), I realized the distressed places would not be the same color underneath. If I had this to do all over, I would paint the whole thing red first and then paint white over the red, so that the red would show through when distressing it.
 I am very pleased with how this turned out, and the girls love it. We can change out the fabric cubes if we change their decor, and they can choose to store other things in this later. I love making things more versatile and more functional. My mom pointed out that the grooves in the sides make the inside walls look like beadboard or something. It does add another dimension to it. You can barely see the red on the back wall when the fabric cubes are in the cabinet, so here is a closeup of the inside while empty.

My next project will be repurposing the drawers into something special for the girls’ room. It might be a few more weeks before I finish that project, but it will be awesome!



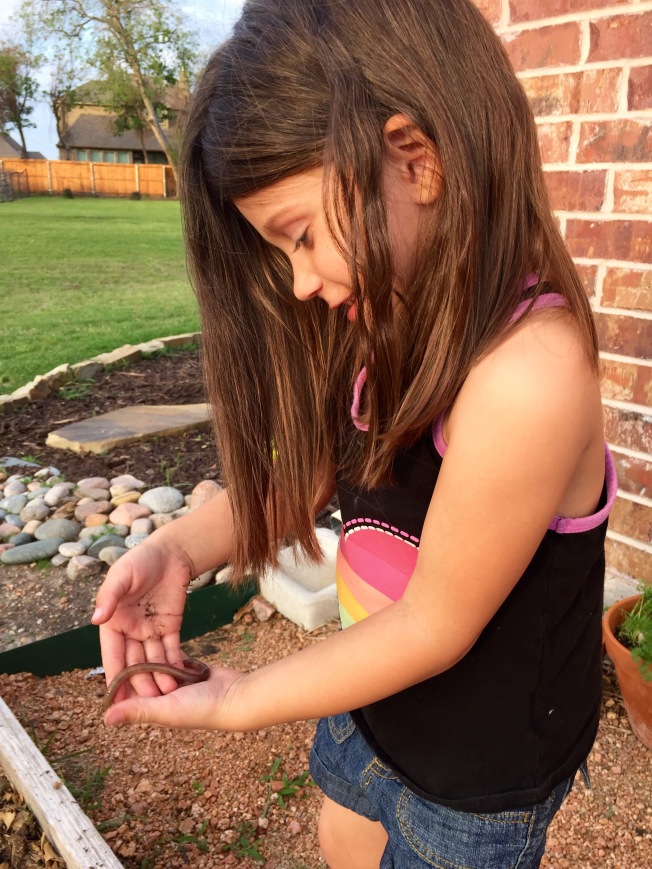
 These girls love nature and being outdoors. They enjoy getting dirty too as you can see from Little Sister’s hands and the smile on her face.
